


RV Clearance and Stabilization: Don’t Overlook the Basics

If you ever plan on driving an RV around our great country, you’ve probably already put in a fair amount of time learning the basics of towing your rig on the road. But sometimes, some of the most basic things can be overlooked. Take a look at this video and you’ll see exactly what we’re talking about. This is not the Good Life!
What’s the Clearance, Clarence?
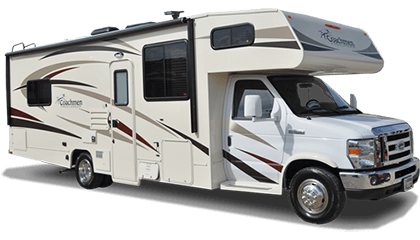
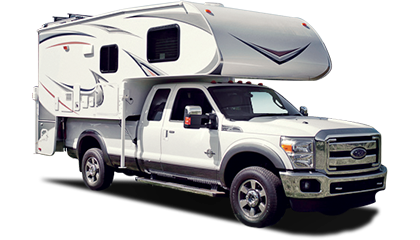
One of the biggest factors that come into play when deciding how (and where) you should drive your RV is the size of the vehicle you purchase. We know it sounds obvious, but in order to pass through/under everyday structures like bridges and… yes, even gas station or bank overhangs, you need to know the height of your vehicle. After all, what good are those ‘clearance’ signs if you don’t know if your ride will fit through.
So, just how do you find your road warrior’s actual height? You can always look in your owner’s manual for that BUT if you have any accessories on that roof, it’s not going to be accurate. Most good RV dealerships will provide you with the actual measurements, but if you add on, be sure to remember that this too will change. If you’d like to do it yourself, we suggest you jump (ok… climb) on top of that RV of yours. Be sure to measure with your tape from the highest item down to the ground. Once you get that golden measurement be sure to write it onto a label or some sort of display that you can put in an extremely visible position to the driver. That way, when an unnervingly low bridge appears on the horizon, you won’t have to rely on memory. It will be right there in front of your eyes.
One last bit of advice: if you have to go under a bridge, through a dodgy tunnel or under an overhang that doesn’t have it’s height listed, try and choose a different, but still convenient route. If there’s no other way to navigate around it, and you think you can make it, do it slowly… very slowly. And if you’re riding with someone, be sure to have them jump out to see exactly if you can clear it or not. If you’re not sure, don’t do it. There will always be a different way around. Even if it’s hundreds of miles out of the way, your RV will thank you for it (as well as your wallet!)
So, we’ve got you to your campsite safely. Now, it’s time to safely park your ride.

Keep it Level-headed
When you arrive at your campsite, you will want to stabilize and level your rig. To begin the leveling process, make sure your slideouts are pulled in. Then, back the RV over a set of leveling blocks until the trailer is level from side to side. Next, use the level indicator installed inside your RV to raise or lower it using the tongue jack on the front of your camper.
Keeping a some leveling blocks around is always a great idea. The interlocking plastic blocks can evenly distribute weight to support the heaviest RVs around. And, they’re easy to use too. After you simply snap them together, they form a ramp that will stay stable while you park your RV atop them. And when you’re ready to pack up and roll out, the blocks unsnap for easy storage.
Now, to stabilize your RV, you must use the jacks installed on the side of your camper. Many RVs have automatic processes for both stabilizing and leveling, but some do not. Ifyou’re rig doesn’t have the automatic stabilization at the push of a button, you might have to put a little elbow grease into your stabilization. You can use stabilization jacks, or RV scissor jacks, but with both of these methods you must take the time to either hand crank each, or place the jacks under the RV.
